I often get compliments and questions about my complicated 5-shade eyeshadow looks on Instagram @candythefinalgirl. It’s simple, cost-effective and I’m going to give you the cost-effective products that help make the looks happen in minutes, paired with awesome Final Girl Cosmetics high-quality eyeshadows, of course, as I Erica and I believe in our own products and designs so much we almost exclusively wear our own designs and fun horror-inspired colors.
Me wearing colors from our exclusive Final Girl Cosmetics x Iskanov collaboration, a fundraiser pairing with Russian extreme filmmaker Andrey Iskanov, director of films such as Philosophy of A Knife.
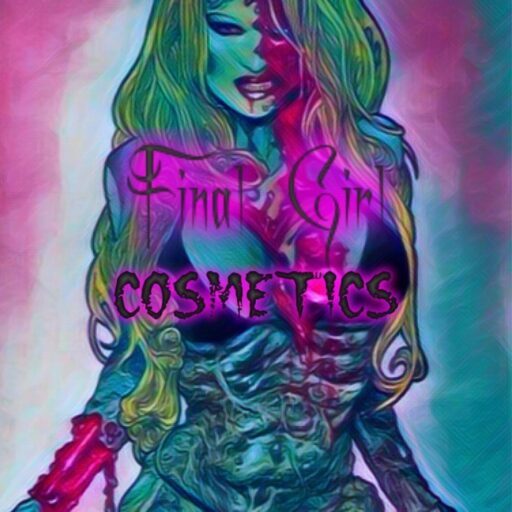
My Nightmare on Elm Street-inspired look from the (currently sold out but soon to return!) Slasher Palette by Final Girl Cosmetics.
My eye look from Monster Mania 49 in New Jersey wearing the Pastel Goth of our very limited edition Candy the Final Girl eyeshadow and earrings collection (very limited quantities still available!)
How I achieve these seemingly-complicated but easy and quick to apply looks is simple and it all begins with a good eye base. I know the inclination is to head for expensive brands like Urban Decay, Anastasia Beverly Hills, or the like on the luxury ends – but I’m here to tell you as a woman with luxury tastes who has tried all of these brands – that your best bet (and lighter on your wallet) is a nice white or pearl-colored sticky base (the color stays on longer, looks brighter, and blends better) by Nyx or E.L.F. (Pictured and both under $10)
These are available at Walmart and Amazon, respectively. Apply a medium-coverage amount from inner corners of the eye (this is important for highlights), and eyelid to eyebrow. Let the base settle and apply your false lashes (if you wear falsies like me) or focus on smoothing out face areas with your products. After a few minutes (it’s best to have your eyeshadow colors pre-chosen and laid out if you are wanting to maximize efficiency with your time spent on the eye look). Contrary to popular beauty trends and beauty vloggers, you do not have to use complimentary colors. I never do and people appreciate that style on me. It’s okay if you prefer a uniform look, though. Do: stick to working inward from the outer corner with your darkest color and inward, saving an iridescent color for browbone highlights (like the Totally shade from the Candy the Final Girl palette or Nancy shade from our Final Girl Collection – available by special order) and for shading the inner corner of the eye – it brightens the eyes overall and provides a nice contrast to draw attention to your look.
Use a separate brush for each color and, to get my easy/complicated look, use the “stripe method” to apply each color, starting with your darkest color starting at the outer edge of the eye and applying a long stripe of color from eyelid to brow bone (it’s okay as the base applied in the beginning will make blending highlights overtop at the brow bone and the blending of colors easy).
After applying your stripes, use a fluffy brush to blend the edges of the colors together so they are smooth and blur into each other. Then, apply your highlights – a blend of your light, iridescent color you’ve chosen (glitter or shimmer) – on the brow bone directly below the eyebrow and in the inner corners of the eye and your eye look is complete, nice and smooth and it lasts all day and works well even for those with hooded eyes. I, personally, have hooded eyes and feel there are not enough tutorials out there for hooded eyes. Not all of us can do the popular “cut-crease” eye looks. I hope this was helpful and assists in creating some amazing eye looks! We would love to see yours so you can send those (preferably with Final Girl Cosmetics products on!) to ch************@gm***.com
-Candy “The Final Girl” Allison
